How to Smoke the Perfect Brisket for Memorial Day Weekend
A whole packer brisket is the centerpiece your Memorial Day cookout deserves. Here is our counter-tested method for bark, smoke ring, and butter-tender slices — start to finish.
Brisket is the cut that humbles backyard cooks and crowns pitmasters. It is also the most rewarding thing you can put on a smoker for a holiday weekend — one cut that feeds a crowd and gets people talking. Here is exactly how we do it behind the counter, scaled down for your backyard.
Start with the right brisket
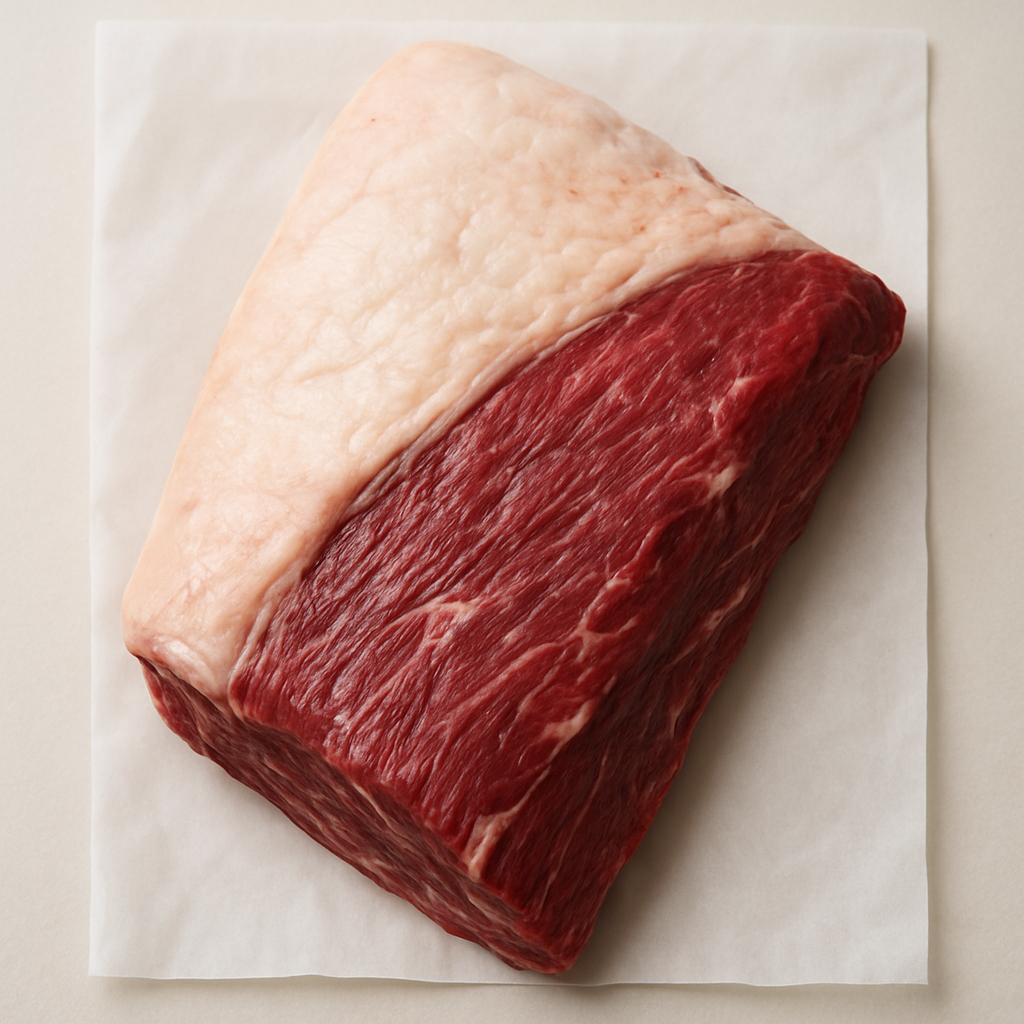
Ask for a whole "packer" brisket — that is the flat and the point still joined together. You want a brisket that feels floppy and bends easily when you hold it; that flexibility means more intramuscular fat and a more forgiving cook. Plan on about one pound of raw weight per person, since a brisket loses roughly 40% of its weight to trimming and rendering.
Brisket
We cut whole packers fresh at the counter — just ask and we will pick one with a thick, pliable flat.
Trim with intention
A cold brisket trims far more cleanly than a room-temperature one, so work straight out of the cooler. Leave about a quarter inch of fat on the top cap — enough to baste the meat as it renders, not so much that smoke can never reach the bark. Square off the thin edges and remove the hard "deckle" fat between the point and flat.
Butcher's tip
Save those trimmings. Ground into your next batch of burgers, brisket fat is the secret to a juicy patty. Bring the trim back to the counter and we will grind it for you.
Rub and rest
Texas-style brisket needs nothing more than coarse salt and 16-mesh black pepper in a roughly 50/50 blend. Apply it heavier than feels comfortable — a lot of it falls off during the cook. If you like a little more backbone, a shake of our carne asada seasoning adds garlic and a touch of heat without overpowering the beef.
- 1
Fire to 250°F
Set your smoker for a steady 250°F using oak or hickory. Stable temperature beats chasing a higher number.
- 2
Smoke fat-side up
Place the brisket with the point toward your hottest zone. Close the lid and resist the urge to peek for the first three hours.
- 3
Ride out the stall
Around 160–170°F internal, evaporation cooling stalls the temperature for hours. This is normal. Do not raise the heat.
- 4
Wrap to push through
Wrap tightly in butcher paper once the bark is set and dark. Paper protects the bark while letting the brisket breathe.
- 5
Cook to feel, not time
Pull it between 200–205°F, when a probe slides into the flat like warm butter. This can take 10–14 hours total.
The rest is not optional
This is where most home cooks lose a great brisket. Let it rest, still wrapped, for at least one hour — two is better — in a dry cooler lined with towels. Resting lets the juices redistribute so they end up on your cutting board instead of running out the moment you slice.
“A brisket is done when it tells you it is done — not when the clock says so. Cook the meat, not the time.”
— Dale Crystal
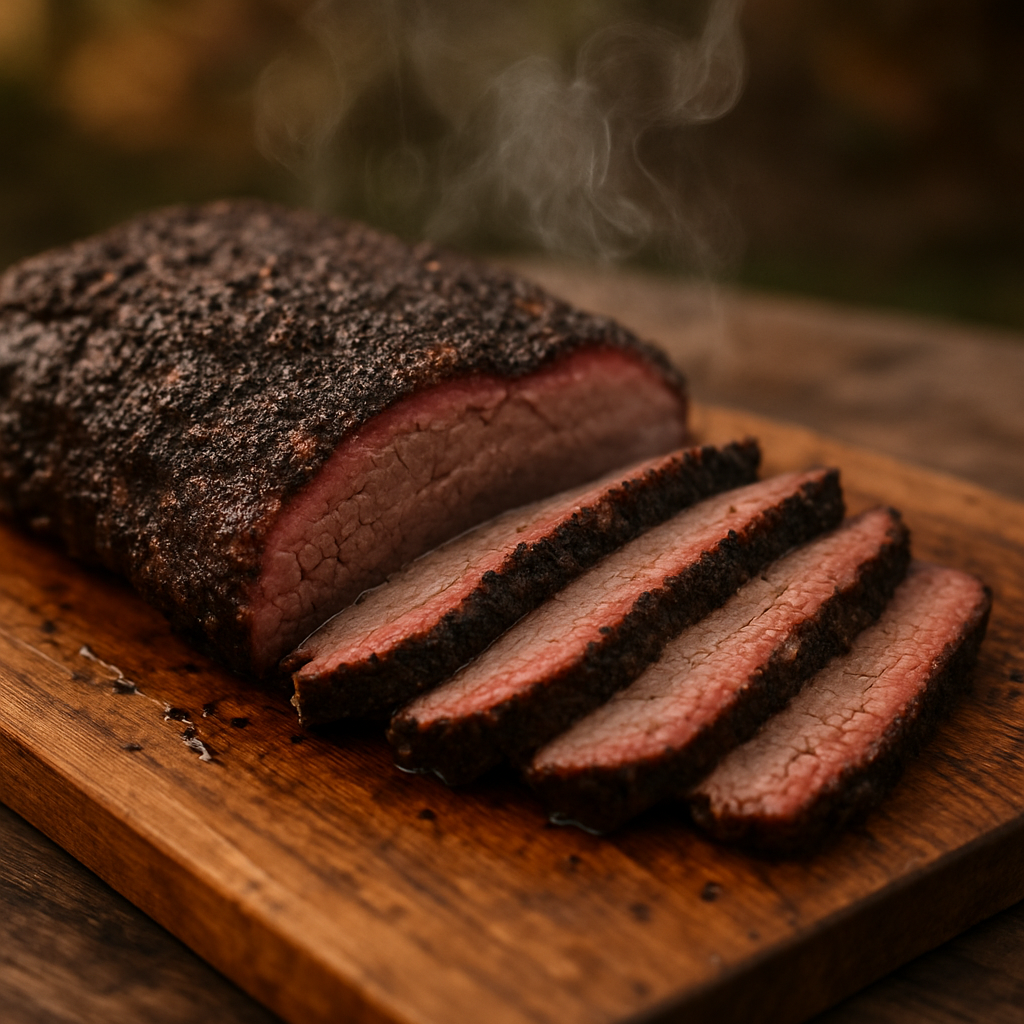
Slice against the grain
The flat and the point run in different directions, so separate them before slicing. Cut the flat in pencil-width slices against the grain, then rotate the point 90 degrees and cube it for burnt ends. Serve it simple — pickles, white bread, and a cold drink. Your Memorial Day guests will remember it.
Keep Reading
 Events
Sutherlin Throwdown: Bags, BBQ & Brews
Our hometown's biggest summer party returns July 18–19 — a sanctioned BBQ competition, a beer & wine fest, and a serious cornhole tournament. Crystal Creek proudly supplies some of the top contestants every year, so come taste what our meat can do.
Read more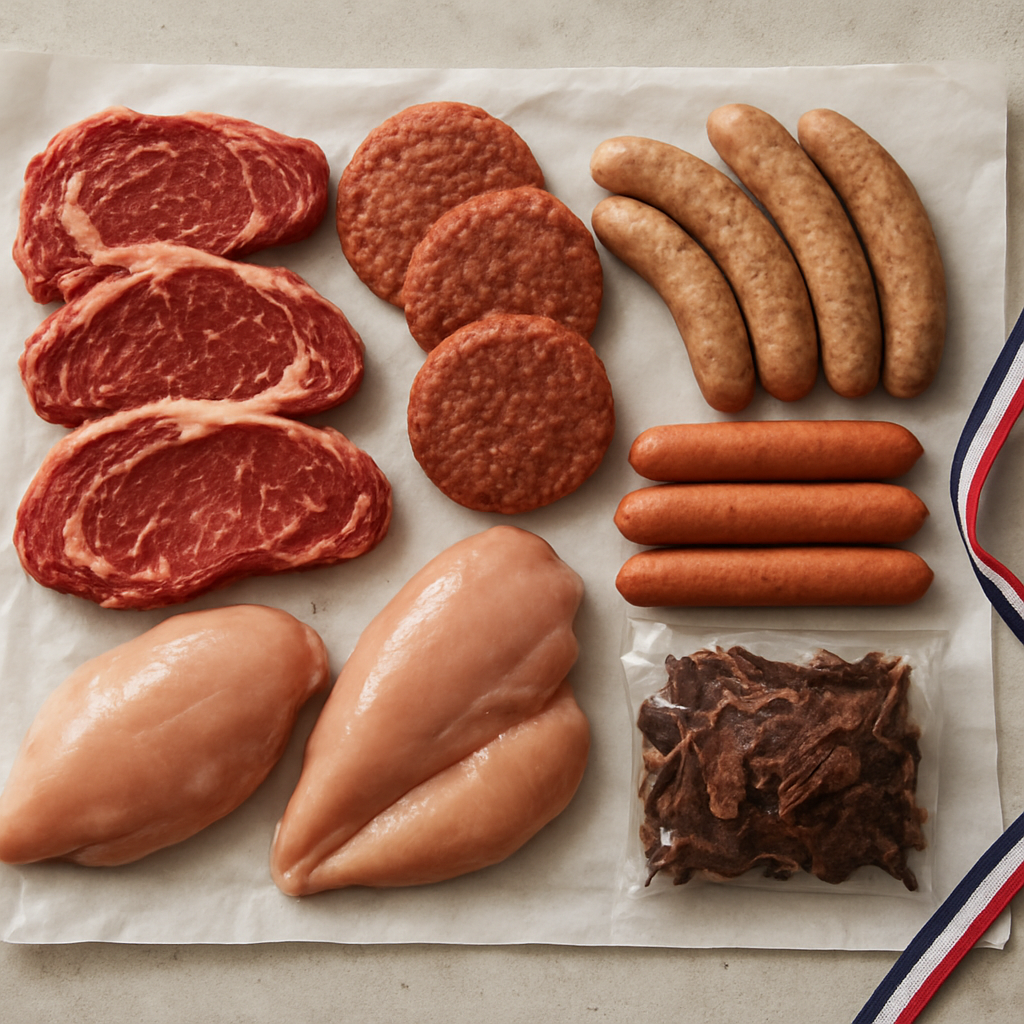 Specials
The 250 oz Butcher's Select Huddle: Our Pack for America's 250th
America turns 250, so we built a 250-ounce tailgate pack to match. Steaks, burgers, brats, dogs, and jerky — one box, built to feed the whole huddle. Here is what is inside and how to cook it.
Read more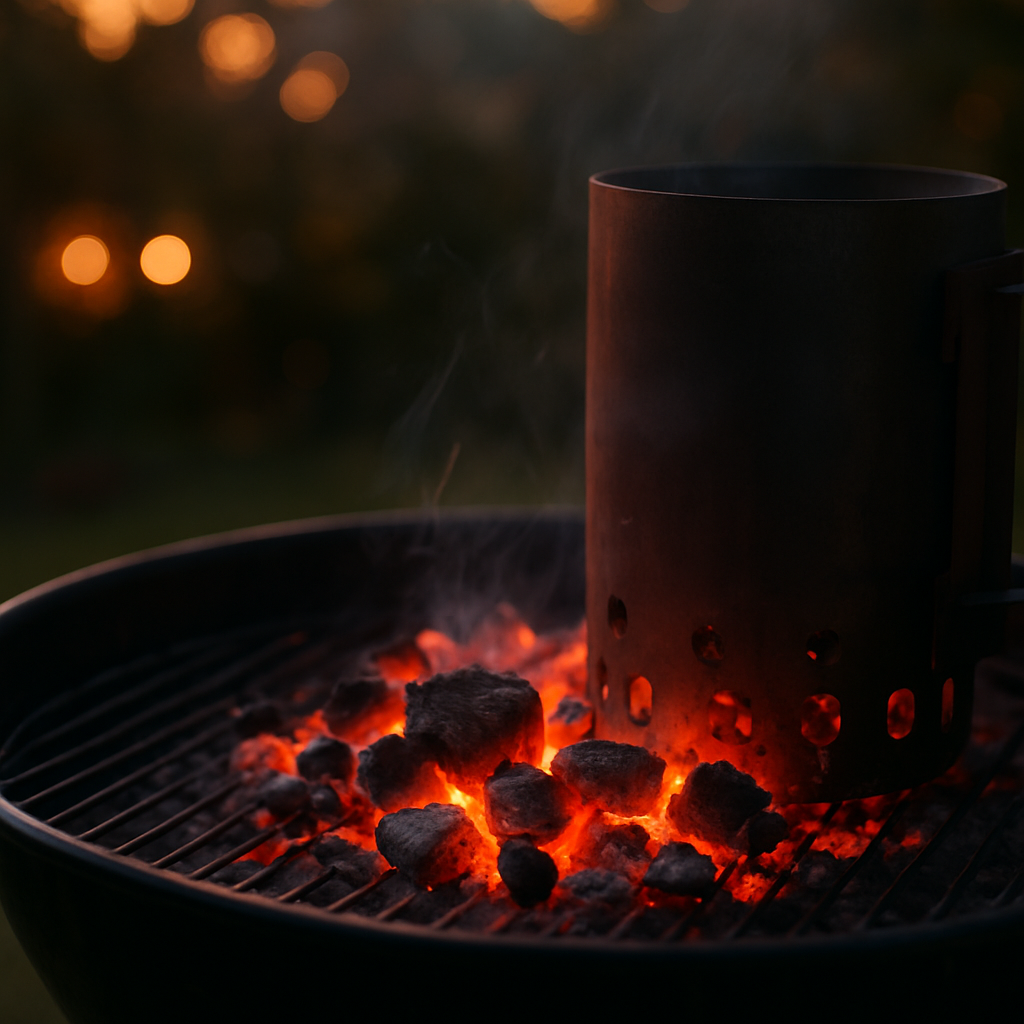 Grilling Tips
How to Set Up a Charcoal BBQ: A Pitmaster's Starter Guide
Gas is convenient, but charcoal is flavor. If you have ever struggled to light coals or burned everything to a crisp, these counter-tested tips will turn your kettle into a reliable cooking machine.
Read more